Introduction of JIRA
JIRA provides issue tracking and project tracking for software development teams to improve code quality and the speed of development.
Combining a clean, fast interface for capturing and organizing issues with customizable workflows, Open Social dashboards and a pluggable integration framework, JIRA is the perfect fit at the centre of your development team.
Download & Installation of JIRA:
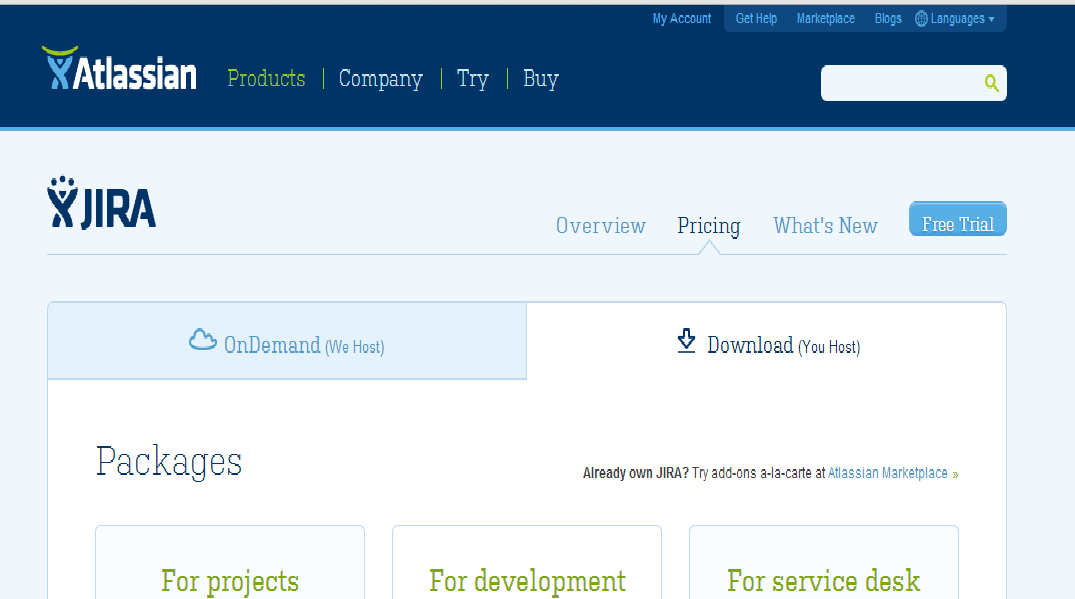
1. Go to the link
https://www.atlassian.com/software/jira/try/?tab=download
You will find this window.
2. There are basically 2 kind of JIRA installation
a. On Demand(JIRA host)
b. Download (User Host)
3. Click on Download (right hand side) option. You will be able to see 3 different versions of JIRA.

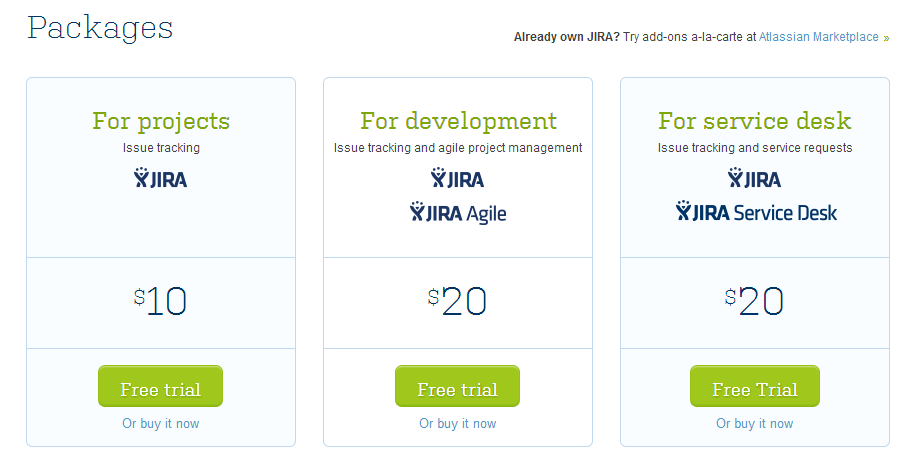
4. Go for first option that is “For Projects”, this is basic version for defect management, for more development options like agile project management you can download “For Development” version and higher. After clicking you will find 2 options.

5. Choose as per your own system configuration. I’m downloading Windows 64 Bit Installer.
It will start downloading exe file (around 190 MB).

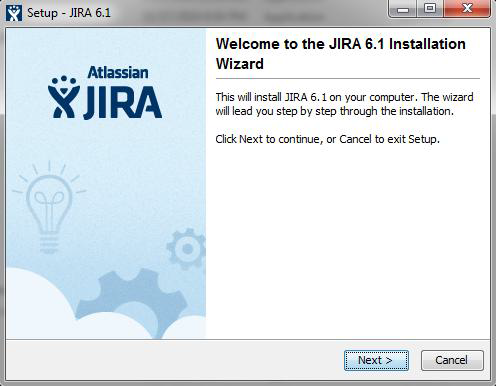
6. After downloading, Run that exe file for installation.

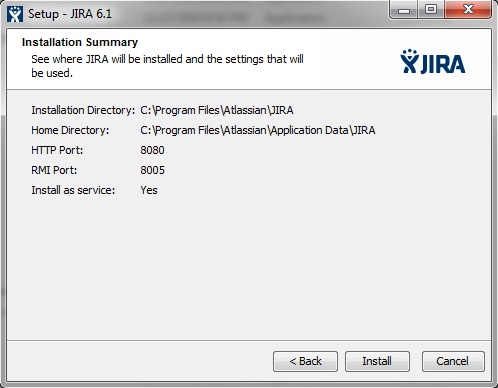
7. Follow the simple installing sequence.
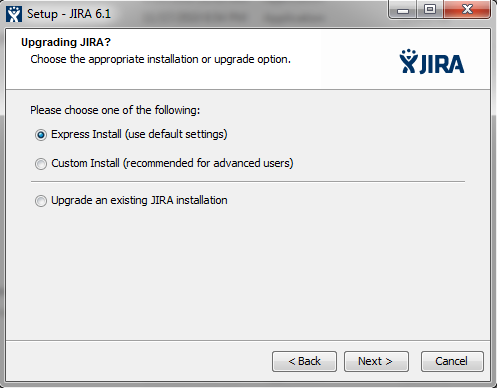
8. Use Default settings.
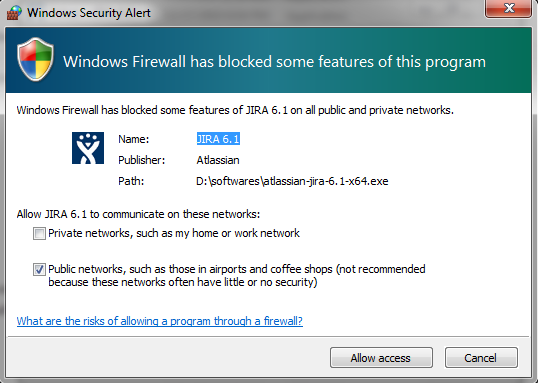
9. Allow for firewall options.
10. Hit on install and let the installation process go.

11. Click on Finish.
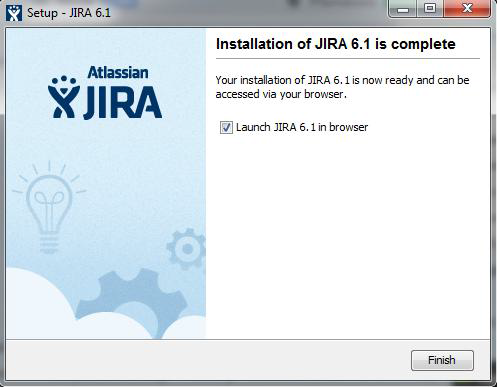
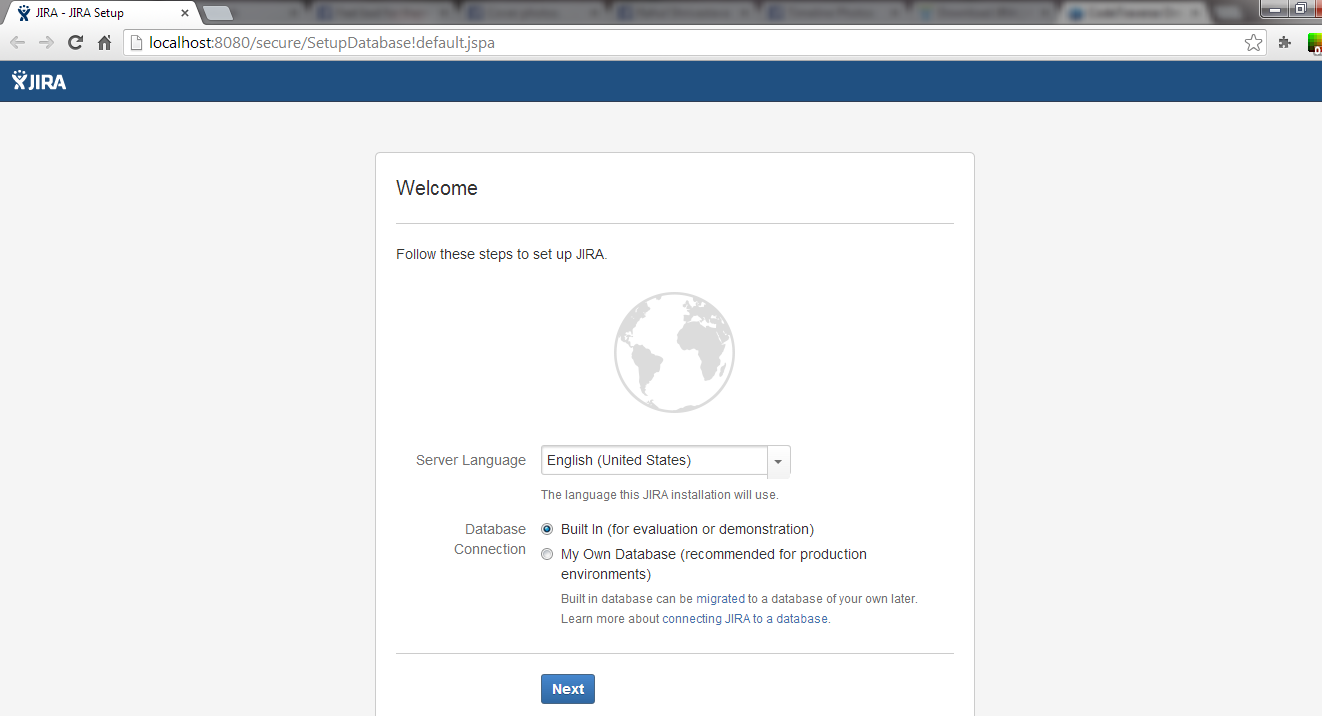
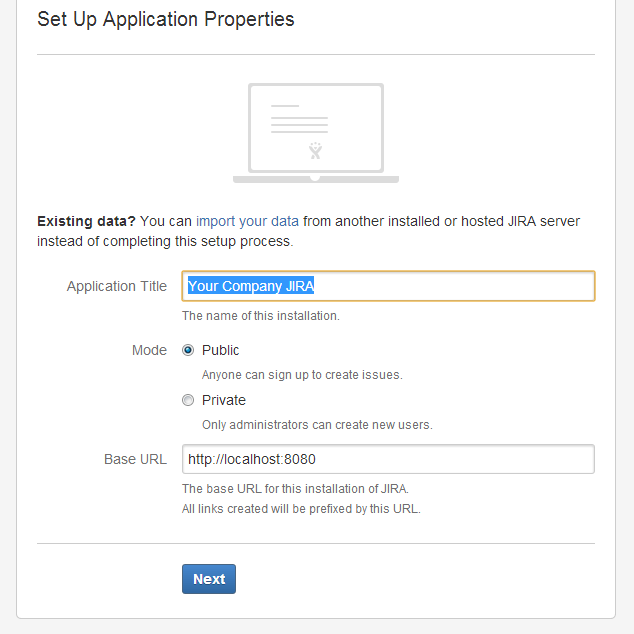
12. Now automatically a web browser will be opened and it will ask for the configuration of the JIRA.
13. Now provide your company title and base url, if you want to change it.
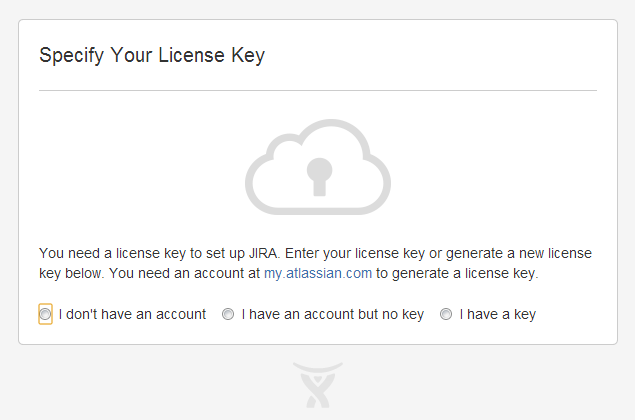
14. Click on I do not have an account.
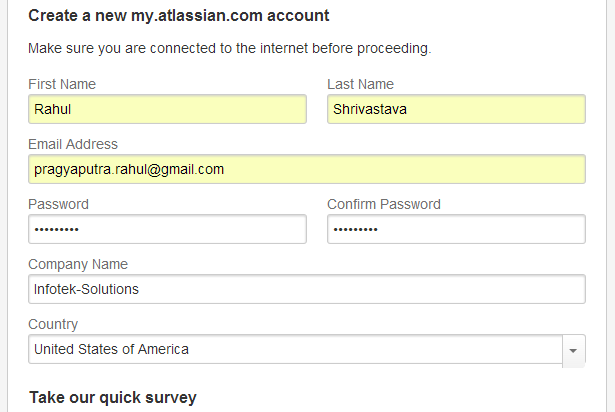
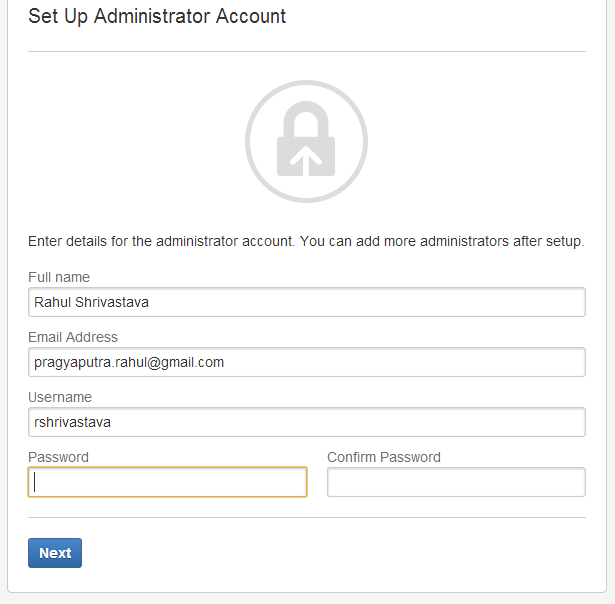
15. You will be asked for filling up basic details.
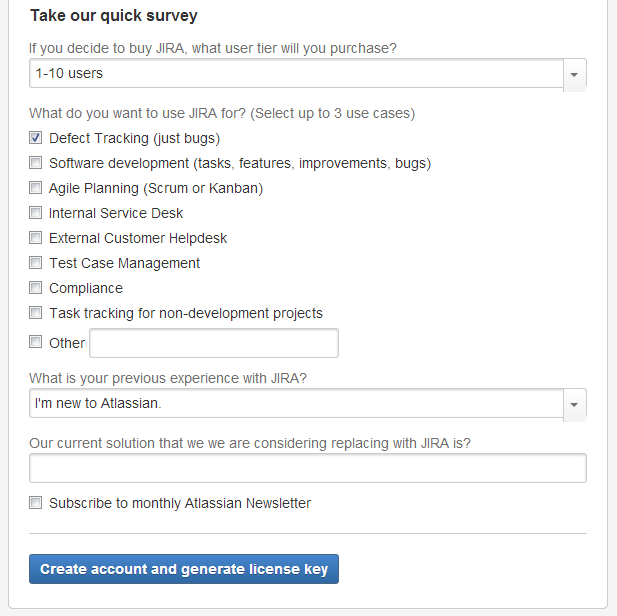
16. Pick options you want to include.
17. Provide password.
18. No Thanks.

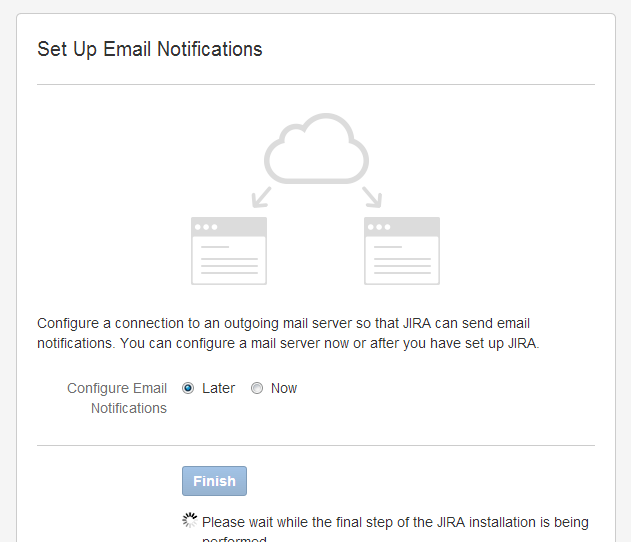
19. You can set up your mail for notifications.
20. Enjoy Your Dashboard and start playing.