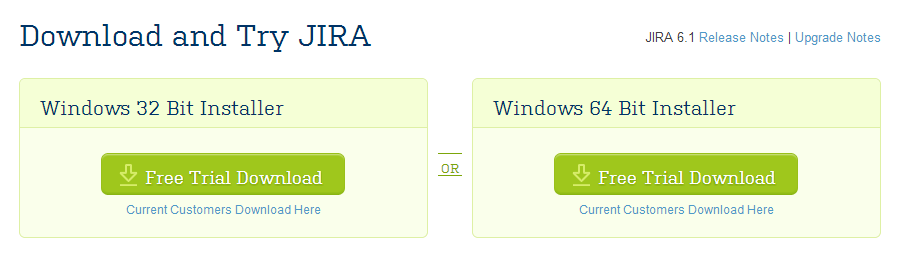
In last tutorial we completed installation of JIRA, now we are starting the practice session.
- Project Creation:
For starting a project we have basically 2 ways to do it,
- if you are new user after, login to your JIRA. After login you will be able to see the System Dashboard. Here in “Getting Started”, you can click on
“Create or Import Your First Project”.

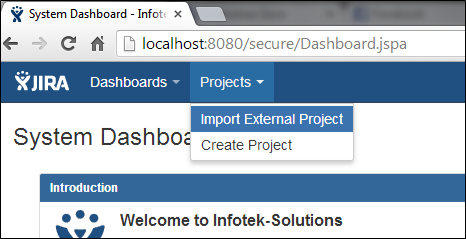
Or you can do is, look at your dashboard top left.
You will be able to see “Project” dropdown menu there.
Where there are 2 options:
- Import External Project: where you can import project from outside world. Or
- Create Project: Here you can open one fresh project.
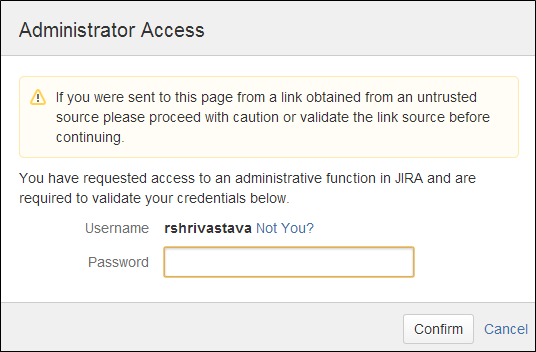
I’m opening one fresh project.
It may ask you to provide password, simply type in your password and click on “Conform”.
Just after confirming you will be able to see a dialog box asking the type of project you want to open. There are various kinds of projects like
- Simple Issue Tracing.
- Software Development
- Project Management
- Agile scrum
- Agile Janban.
- Demo Project and
- JIRA classic.
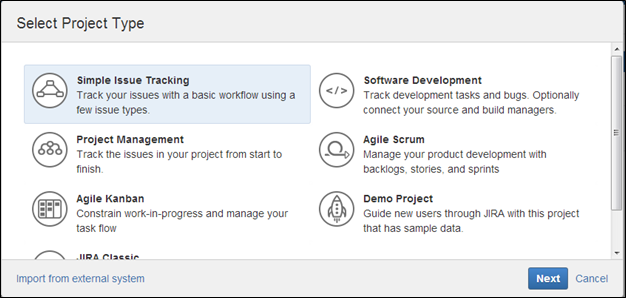
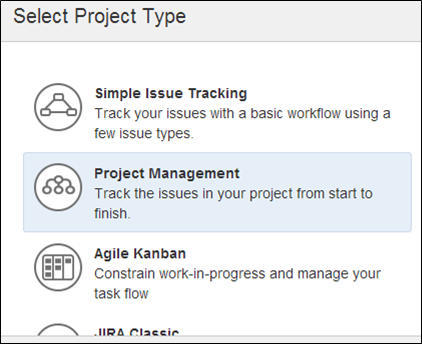
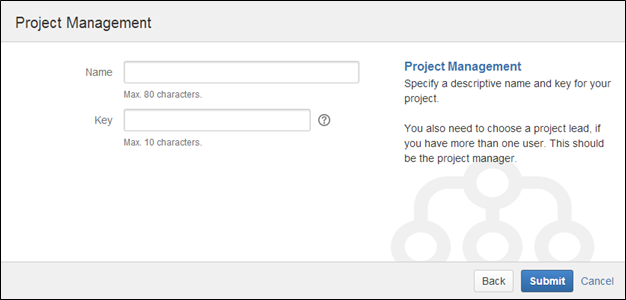
I’m selecting “Project Management” type for starting a new project.
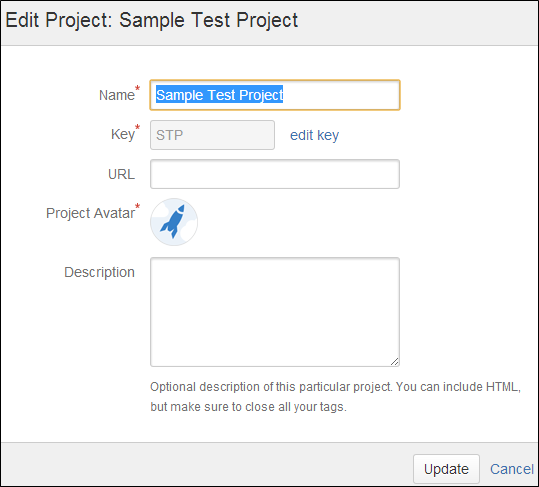
Here you will be asked to provide Name of the project and Key of it.
- Name: It requires name of the project.
- Key: This is an important feature, you need to provide one Key for the project, though it will be made automatically after entering Project name, but you can change it.
NOTE: You cannot change Project Key once it is created.
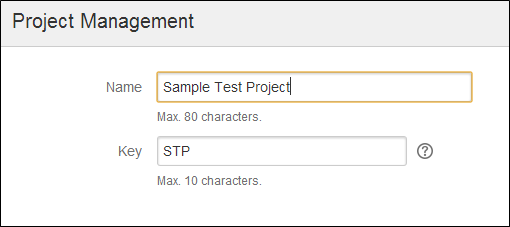
I’m opening one project here as.
Now hit

Now you will be able to see created project home page now.
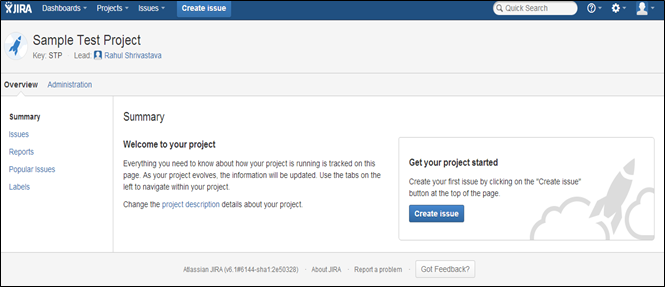
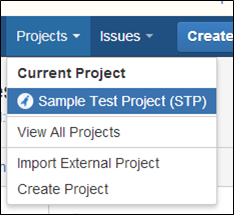
If you click on above Project button, you can see your created project.
In your dashboard you can see
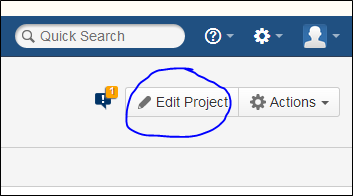
By clicking this option you can provide additional information about your project. If you see below snapshot you’ll be able to understand the options.
One option here is
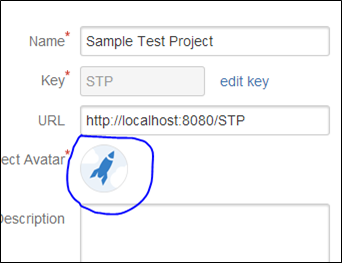
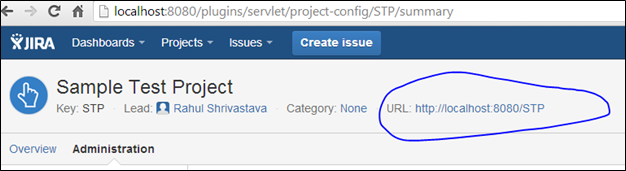
URL:
Here you can provide one unique web address for your project, it will be starting from your base address then “/” sign and then any name.
In this case I kept it:
http://localhost:8080/STP
Another option is “Project Avatar”
Here you can change the Avatar or we can say kind of image of the project which can give you some different feel for the project while looking.
See below snapshots:
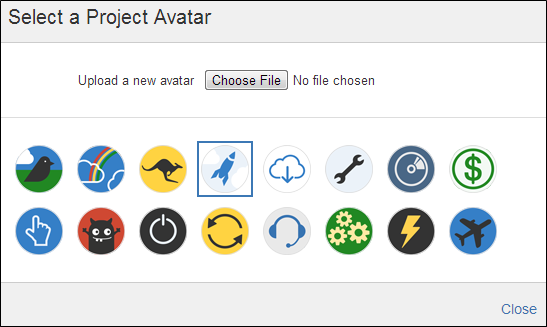
After clicking Avatar image, you able to select any other image for it, or you can do is can upload any new avatar from you machine.
After providing all the details and hitting “Update” you will be able to see your updated information about project.
If you see in above snapshot, Avatar, Base URL everything is updated.
Now by hitting this URL you can directly track your project after opening your web browser.
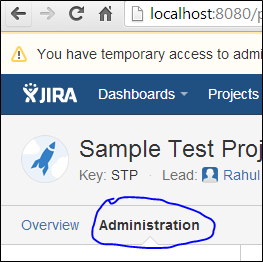
Now we are going towards a very important section of a project that is its Administration.
Click on “Administration” option available just beside Overview at top left hand side.
After hitting Administration you will be able to see these number of options.
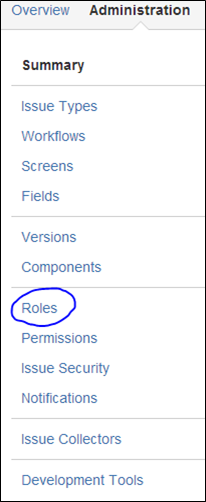
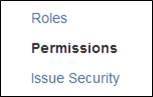
Let’s go in “Roles”
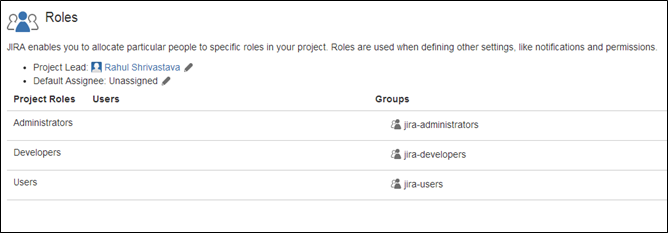
If you see in a project there are basically 3 major roles,
- Administrator
- Developers
- Users
So here what you can do is you can add or delete the users in any of the Role category, Currently in my system I’m only the user, but don’t worry we’ll learn the concepts of adding and deleting users to the system in later tutorials.

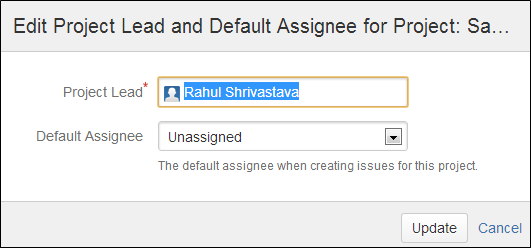
Another important role is PROJECT LEAD.
Currently my name has been assigned as project lead, You can change it by clicking the “Pen” sign under highlighted area.
You can also look the permissions of each role by clicking “Permissions” link just beneath Roles.
It was the basic about project creation and its handling, in next tutorial we are going to learn “Issue Handling” which is most important section of JIRA.